

Air Conditioners are essential in homes and businesses, and often need to be repaired for various reasons. There are a few things to keep in mind when repairing an air conditioning system, including understanding the types of ac, how to properly descale them, how to properly mount the filter and tubing, and how to properly adjust the thermostat. Read More.
1. Learn the Anatomy of a Central Home Air Conditioner
Summertime is synonymous with hot weather. For many, the only relief from the heat is air conditioning. But what happens when your ac stops working? Don’t worry, this article will show you how to repair air conditioners. The first step is to determine what is wrong. There are a few common problems that you can troubleshoot yourself.
2. Shut Off the Power
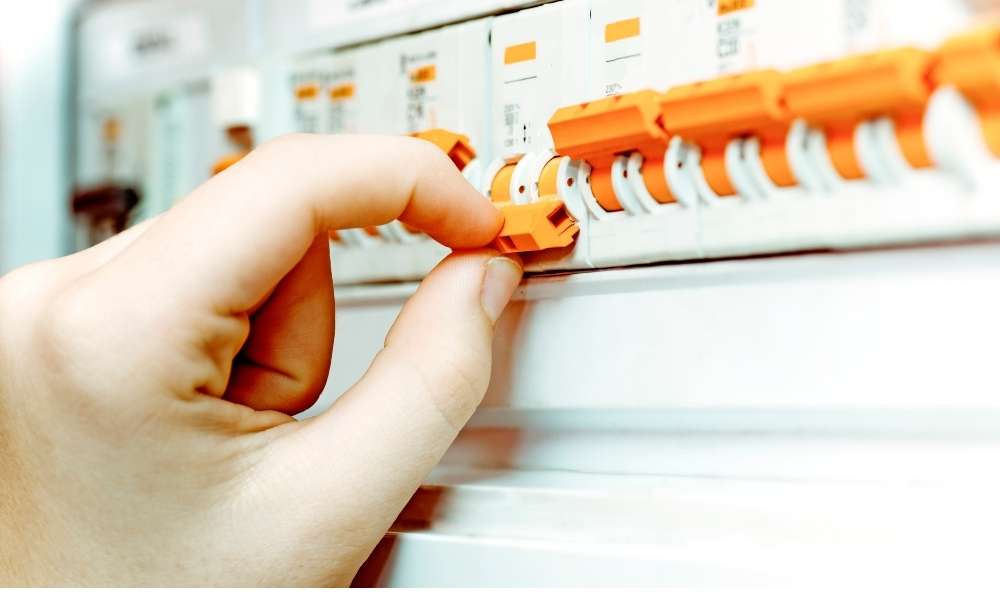
Do you know how to shut off the power to your air conditioner so you can safely make the repair?
The first step is to find the breaker box for your home. The breaker box is usually in a closet or a room near where the utility lines enter your home. Once you’ve found the breaker box, locate the switch. It will likely be labeled with the name of your AC. Flip off the switch and then wait about 5 minutes before flipping it back on. This will give the compressor time to stop running so you can safely work on it.
3. Test the Power Cord
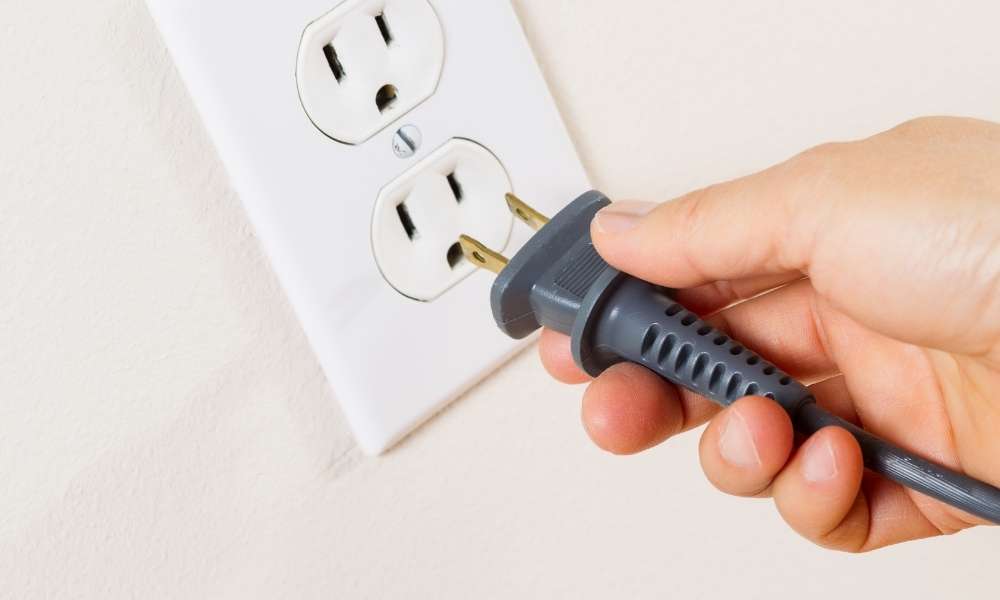
If your AC unit is not working properly, it’s time to test the power cord. The best way to do this is to unplug the power cord from the AC unit and plug it into an outlet. Once you have done this, turn on the AC unit and wait a few minutes for it to start up. Then, take out the power cord from the outlet and plug it into the AC unit. Now, turn off both units and re-plug the power cord back in. If all goes well, your AC unit should now be working properly.
4. Test The Switch
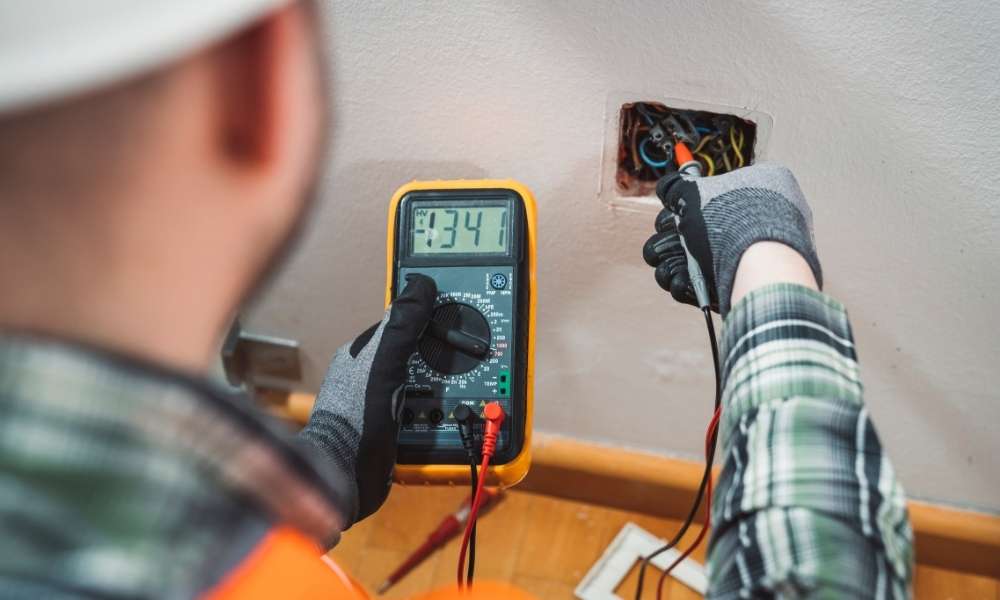
One common issue is the switch not turning on. This could be due to a number of reasons, such as a blown a fuse or a tripped circuit breaker. Before you start tearing into the machine, be sure to check these things first. If everything looks good, then it’s time to start troubleshooting.
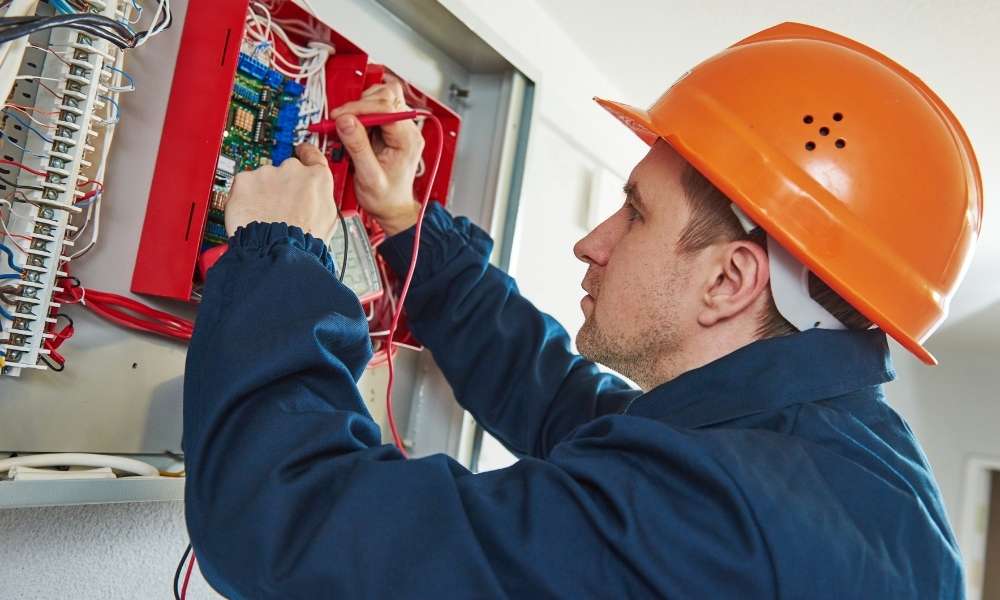
The first step is to see if the switch is getting power. To do this, you’ll need to use a multimeter.
5. Test the Start/Run Capacitor
First, remove the cover from the air condition. This will expose the capacitor. There are usually two terminals on top of the capacitor – these are where you’ll need to attach your meter leads. Next, set your meter to read capacitance. If you’re not sure how to do this, consult your meter’s manual. Touch each probe to a terminal on the capacitor, and take note of the reading.
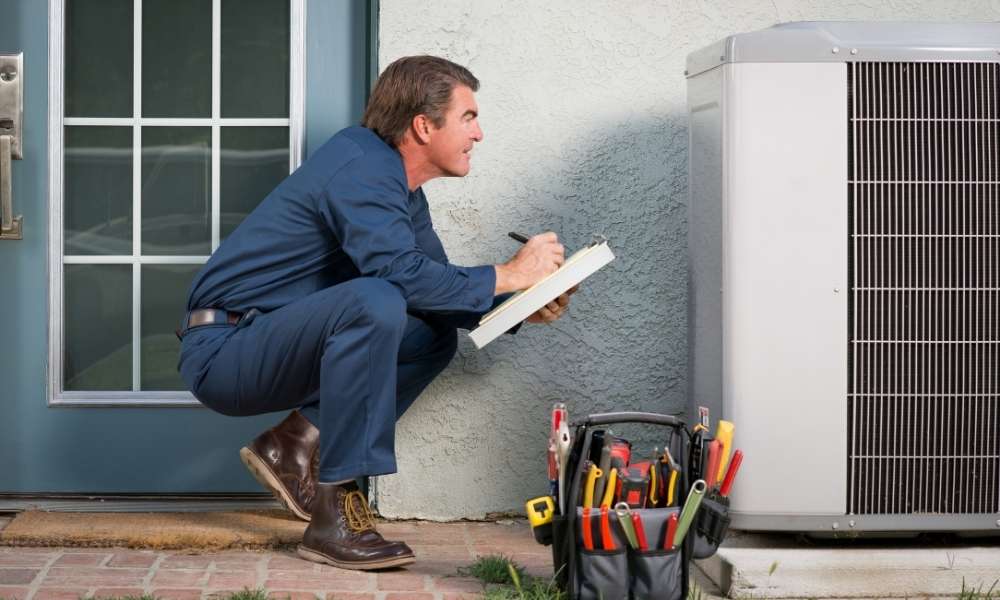
6. Test the AC Contactor
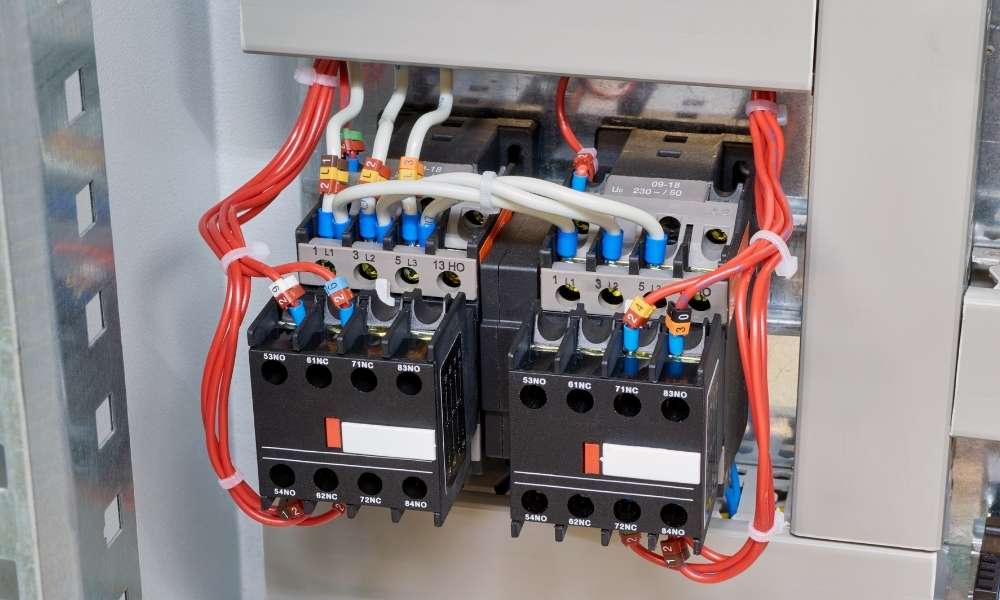
If the AC contactor is not working, it will not turn on. The contractor is located in the outdoor unit. To test the contactor, unplug the power to the AC and remove the cover from the outdoor unit. There should be a small box with several wires leading to it. The contractor will be a large, round object with two terminals. With a voltmeter, test for voltage between these terminals. There should be 240 volts when it is turned on. If there is no voltage, the contactor is bad and needs to be replaced.
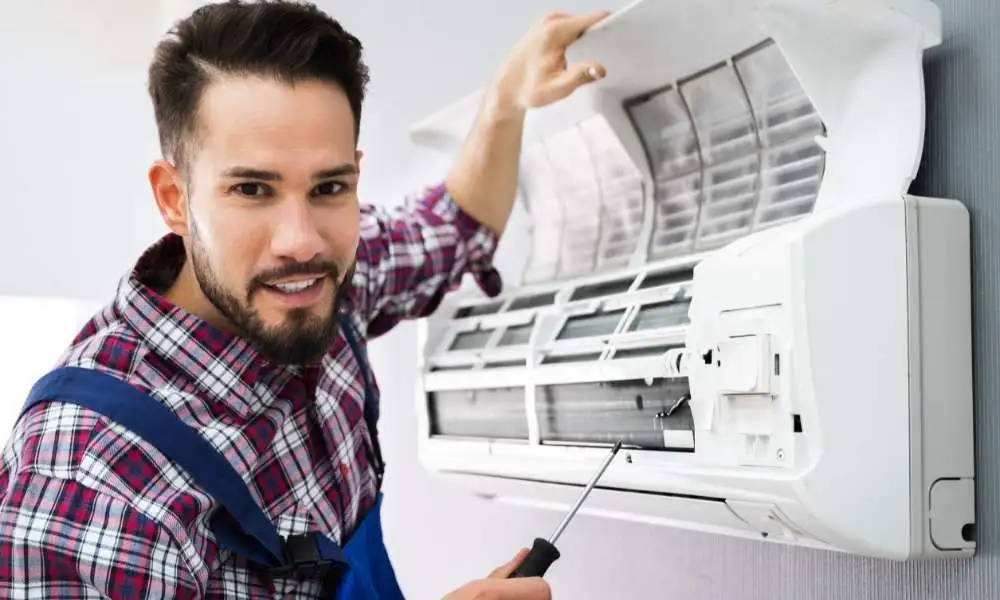
7. Clean the Condenser Coils
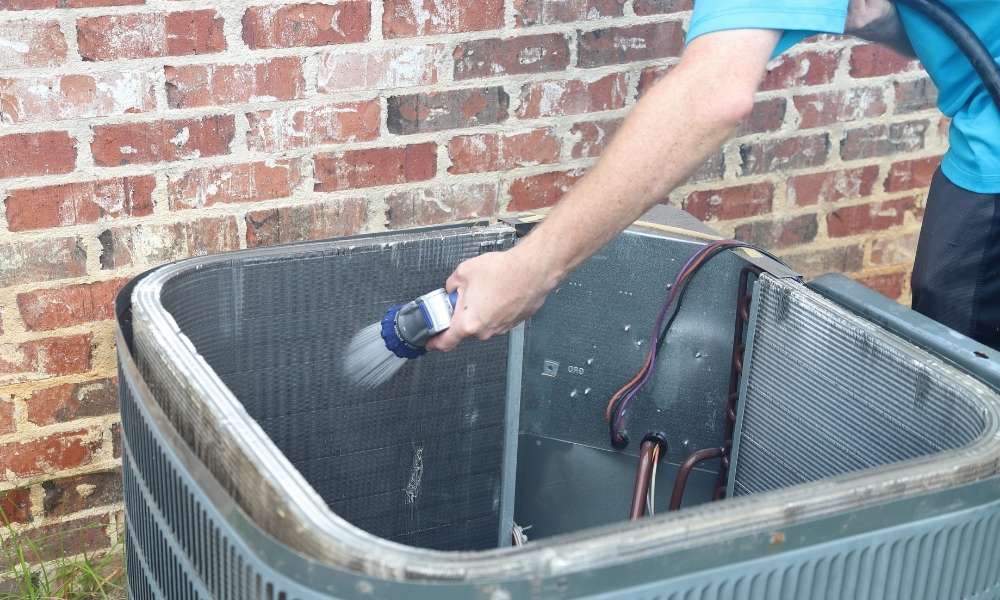
If theconditioner will have to work harder to cool your home, which can lead to higher energy bills and decreased performance. Not only that, but dirty coils can also cause the system to freeze up or overheat.
Fortunately, cleaning the coils is a simple task that anyone can do. All you need is a screwdriver and a few minutes of time. Simply remove the cover panel on the back of the unit and use a brush or vacuum cleaner to clean away any dirt or debris.
8. Test the Fuses
The fuse is located in the fuse box, which is usually in the basement or garage. The fuse box will have a diagram that tells you what each fuse is for. To test a fuse, remove it from the fuse box and use a continuity tester to see if it has blown. If it blows, replace it with a new fuse of the same amperage rating.
9. Motor and Compressor
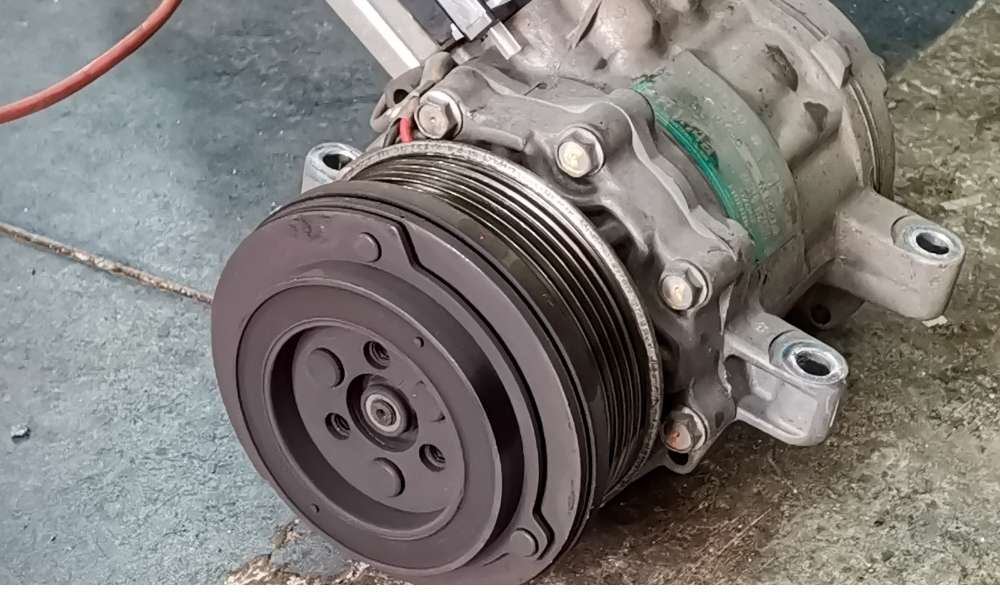
If you’re hearing strange noises coming from your air conditioner, it may be time for a motor and compressor repair. The motor is what powers the compressor, so if it’s not working correctly, the compressor can’t do its job. Signs that your AC needs a motor and compressor repair include strange noises, low cooling capacity, or higher than normal energy bills.
If you think your air conditioner needs a motor and compressor repair, call a professional to come to take a look. They’ll be able to diagnose the issue and let you know what needs to be done to fix it. In most cases, a motor and compressor repair is a fairly expensive job, so it’s important to weigh the cost against the benefits of getting the work done
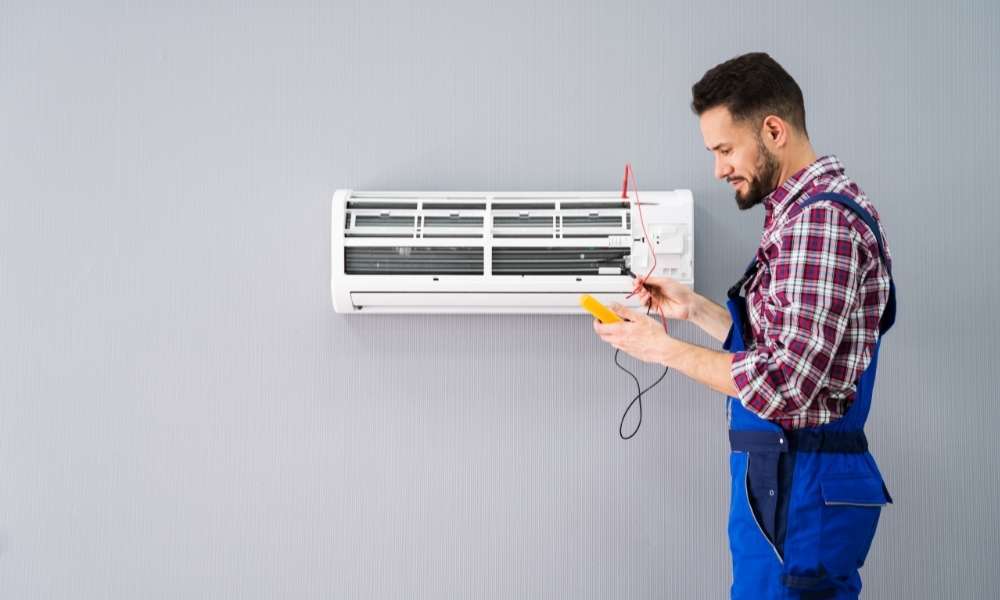
10. How to Test Your Repairs
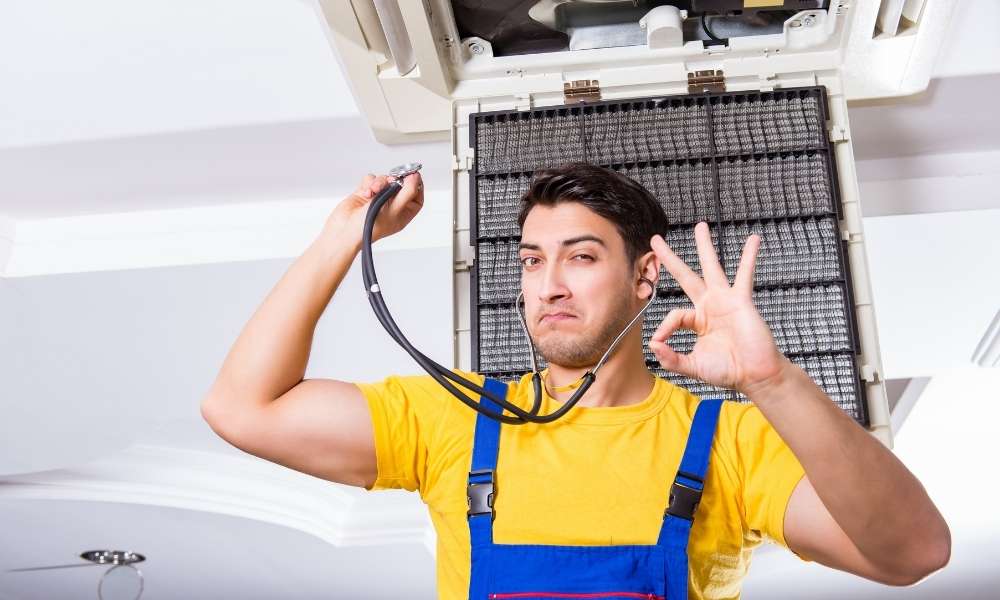
When you finish making your air conditioner repairs, it is important to test them to be sure they worked properly. One way to do this is to run the unit for a while and see if it keeps the room at the desired temperature. You can also check the coils and filters to make sure they are clean and free of debris. If you have any questions about whether or not your repairs were successful, don’t hesitate to call a professional.
Conclusion
In conclusion, repairing an air conditioner is a relatively easy task that can be done by anyone with some knowledge and tools. The most important thing to remember is to be able to follow the instructions carefully and to be sure that you have the correct tools for the job. See More Post?